
How Studio works
Studio is a board of cards: each card makes one kind of item from what is wired into it, on the models you pick, and everything it makes lands in the Library.

Studio is where Omnymous makes things for you: research, avatars, angles, ad copy, images, videos and pages. You lay the work out as cards on a board and wire them together, so what one card makes becomes what the next one is built from. Each card runs on the models you choose, on your own AI keys, and every result lands in the Library knowing the pieces it was made from.
In short
- A board holds two kinds of card: items you already have, from your Library, and cards that make something new.
- A wire gives a card one of its inputs. The card makes its results for each item on its main input, and carries everything those items stand on.
- A run happens on Omnymous' servers, under a spending cap you set before it starts. Every result is kept, and everything it made is in the Library.
Boards
A board is called a flow on screen. Studio opens on the newest board of the store you are in. The pill at the top left holds Canvas and Runs, the board's name, and, behind the arrow, every board of the store.
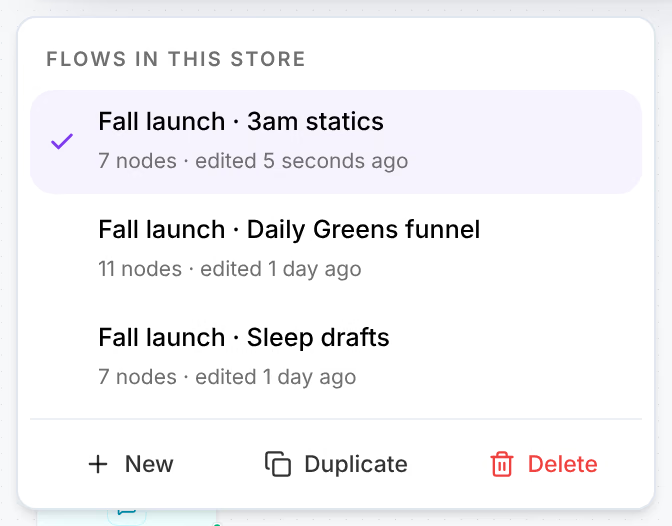
Boards are saved to Omnymous as you work, so anyone in your workspace can open them on any device. The line beside the run bar says where yours stands, such as Saved just now. See Build a board.
Cards
A Library card is an item you already have: a product, research, an avatar, an angle, an actor, an offer, copy, a creative or a page. It looks as it does in the Library, and it only feeds other cards.
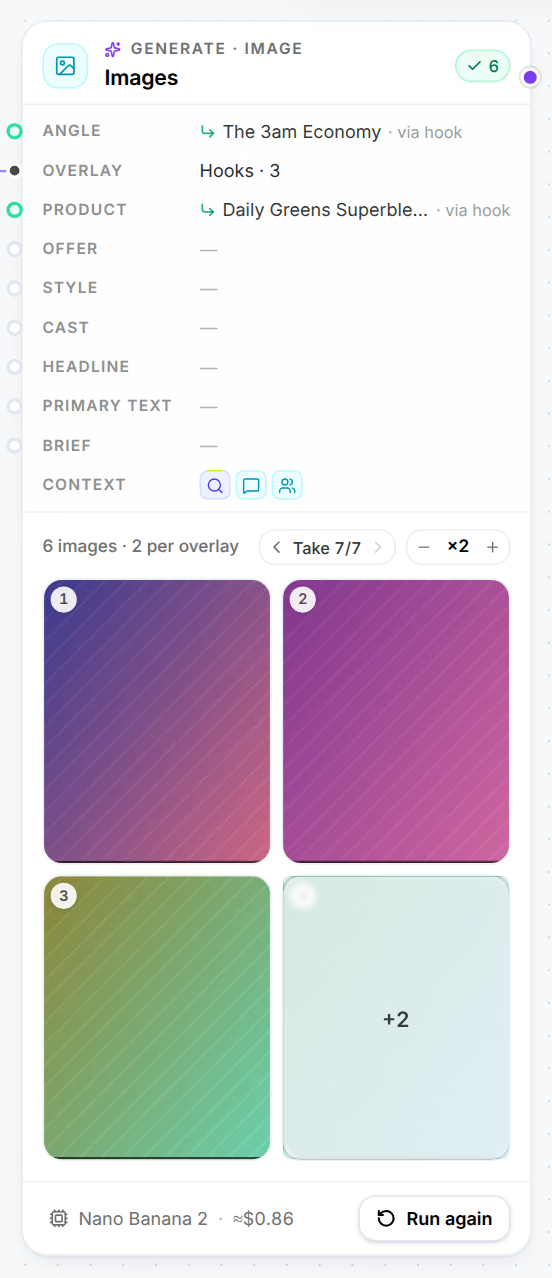
A generate card makes one kind of item, named above its title, as in Generate · Image. It lists the inputs it takes, how many results it makes, the model it runs on with what a run should cost, and the button that runs it.
A third kind, the Brief, holds a few lines of creative direction for whatever it is wired into. See Cards and models.
Wires
A wire runs from the right edge of one card into a named input of another, and the input's name says what the item is for: a hook wired into Images is the line printed on the creative, its Overlay; an image wired into Videos is the video's Start frame. A card refuses a wire it cannot use, and says why. See Wires and context.
Runs and takes
Running a card makes its results; running it again makes a new set beside the old one. Each set is a take, and every take is kept: the card shows one, and the arrows above its results step through the others. The results you keep in the take a card shows are what the cards after it are built from. See Run a board and control its cost.
What a board can make
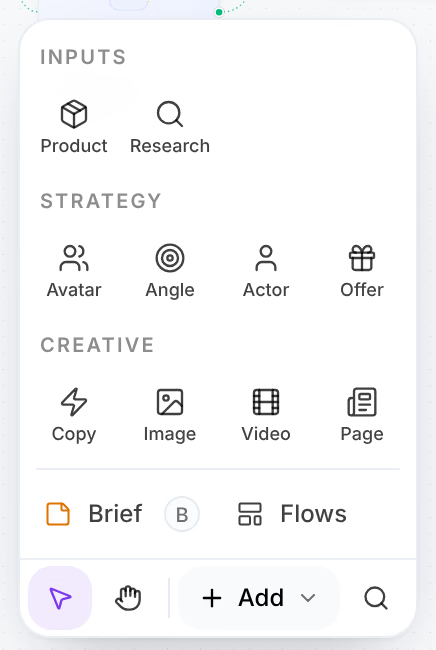
Add, at the bottom left, lists what a board can hold in three groups, in the order work moves through them.
| Group | Cards | What they make |
|---|---|---|
| Inputs | Product, Research | Your Shopify products, as Library cards only; market research, awareness and sophistication reports, and the voice of your customers. |
| Strategy | Avatar, Angle, Actor, Offer | Who you sell to, the position each ad sells from, the face and voice of your ads, and the price, bonuses and guarantee. |
| Creative | Copy, Image, Video, Page | Hooks, bodies, primary texts, headlines, descriptions and long-form copy; ad creatives; ad videos; landing, product, advertorial and listicle pages. |
Where this shows up
- What the Library holdsThe Library keeps what your marketing is made of, from your products and research to the pieces of your ads and the finished creatives and pages.
- Edit a page in Page StudioChange a page Studio made, by typing on it, by asking the AI or in its design, and keep every change as a version you can go back to.
- How the Launcher worksThe Launcher turns creatives and their pages into a Meta campaign in four steps, and records what each ad was made from so its results can be credited.
- AI keys and usageReplace, check or remove the provider keys your workspace generates with, and read what they spent this month, by model and by type.