Skip to Content
Getting StartedSet Up Your Workspace

Set up your workspace

A guided wizard walks you from choosing a plan to your first ready-to-use workspace — pick a plan, connect your store, and add your AI keys in about five to ten minutes.

Before you start

  • A verified account (Create your account).
  • A credit or debit card for your subscription.
  • Access to your Shopify store’s admin.
  • The ability to create API keys on OpenAI  and Anthropic  — the wizard shows you how.

The wizard opens automatically the first time you sign in, at /setup. You can leave and come back; it remembers where you left off.

1. Your Plan

  1. Omnymous is a single plan with everything included. Choose Monthly at $149/mo or Yearly at $1,490/yr — yearly is 2 months free.

  2. Pick how many Shopify stores you want under Shopify stores: 1 store is included, and each extra is +$19/mo (up to 3 stores). You can always add more later from Settings.

    Your Plan step: the Omnymous plan with Monthly and Yearly billing options and a 1/2/3 store selector

  3. Click Next.

2. Payment Details

  1. The Order Summary on the left shows what you’ll pay today. Have a code? Enter it under Promo Code and click Apply.

  2. Fill in your Card number, Expiration date, and Security code on the right, then click Pay $149.00.

    Payment Details step: order summary on the left, card form on the right

  3. When the charge goes through you’ll see Subscription Active!. Click Continue to move on.

    Subscription Active confirmation panel

3. Your Organization

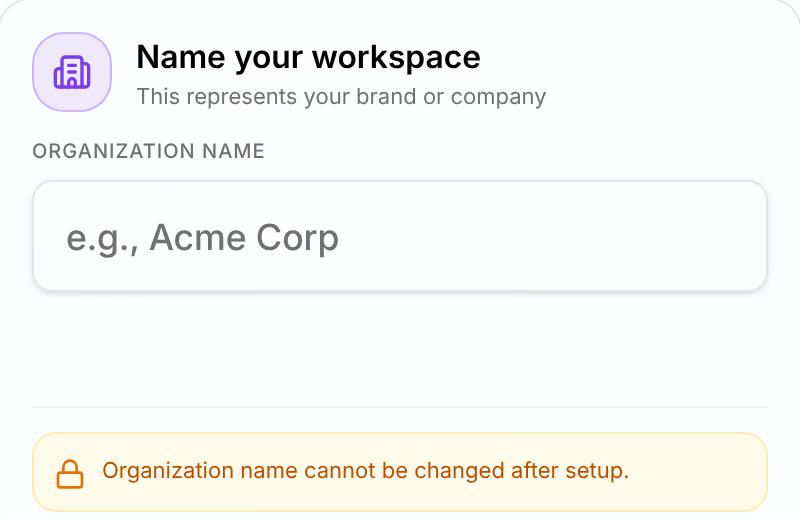
  1. Under Organization Name, type the name of your brand or company. Omnymous checks it as you type and confirms with Great choice! This name is available.

    Your Organization step with the workspace name entered and confirmed available

  2. Click Next.

Your Organization name cannot be changed after setup, so pick the one you want to keep.

4. Invite Team (optional)

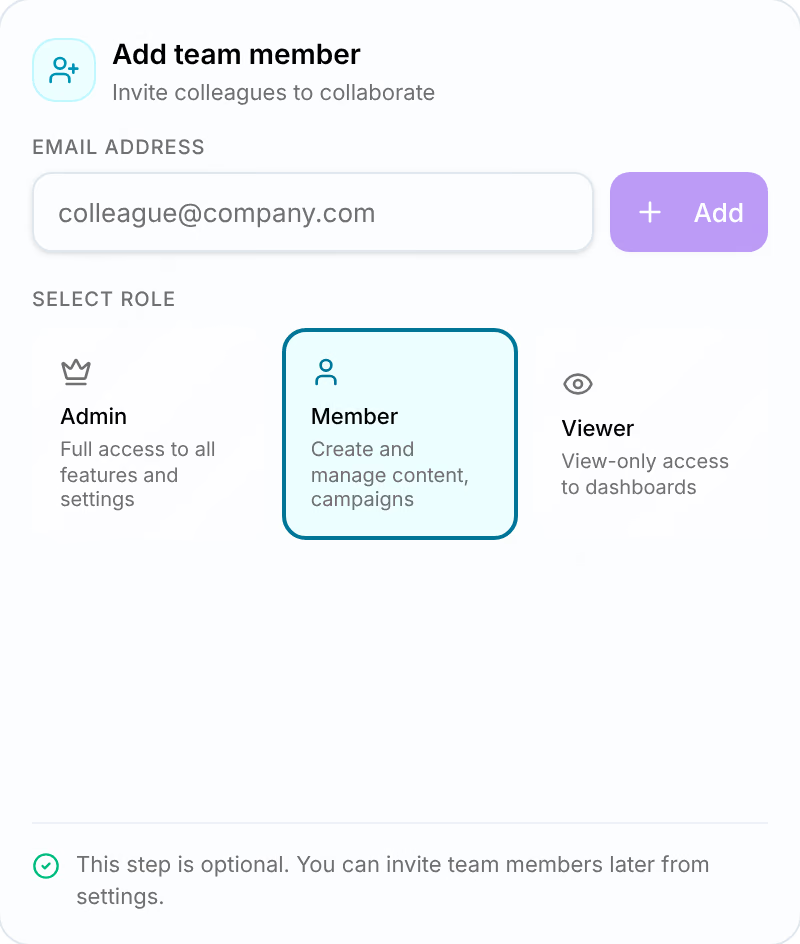
Bringing colleagues in? Enter a coworker’s Email Address, choose a role under Select Role, and click Add — then Send the invitations.

Invite Team step showing the Admin, Member, and Viewer role cards

  • Admin — Full access to all features and settings.
  • Member — Create and manage content, campaigns.
  • Viewer — View-only access to dashboards.

This step is optional — click Skip to do it later. Roles, changing them, and removing people are covered in Team and roles.

5. Connect Store

  1. Type your store’s address under Store Domain — just the part before .myshopify.com (for example, your-store). Click Connect Store.

  2. You’ll be sent to Shopify to approve the connection, then dropped back here with your store showing a green Connected badge.

    Connect Store step: the connected store card with the Set Pixel Data Mode panel

  3. Finish the Set Pixel Data Mode panel on your store card. In your Shopify admin, open Customer Events, find Omnymous in the App pixels list, and set its Data column to Always on.

  4. Back in the wizard, tick I’ve set the data mode to “Always on”, then click Next.

This is what lets Omnymous credit the orders your store makes back to the ads that drove them — so it’s required before you can continue. More on stores and tracking lives in Stores.

6. Connect Ad Platform (optional)

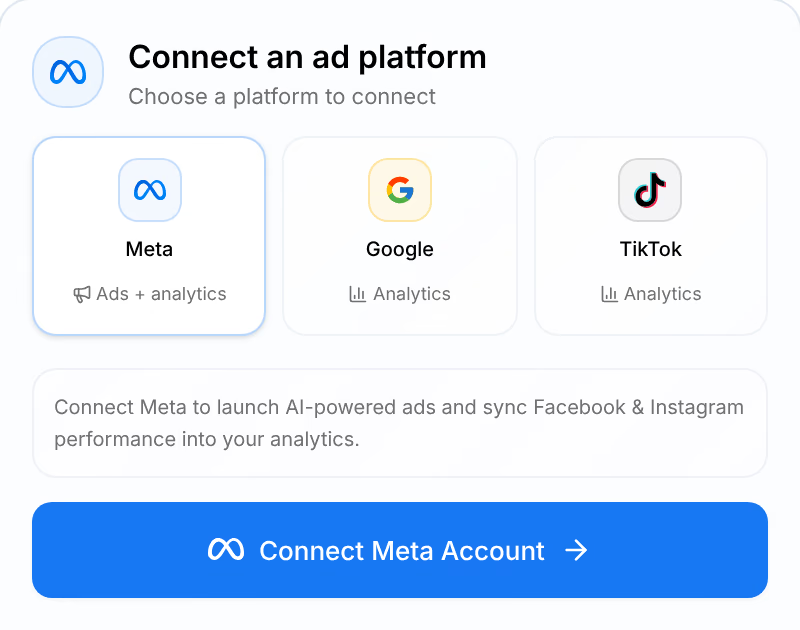
Choose a platform under Connect an Ad Platform:

  • Meta is Ads + Analytics — connect it to launch ads and pull Facebook & Instagram performance into your reports.
  • Google and TikTok are Analytics only — they pull ad spend and performance into your blended reporting, with no ad creation.

Connect Ad Platform step with the Meta, Google, and TikTok options

This step is optional — click Skip to connect platforms later from Integrations.

7. Connect AI Keys

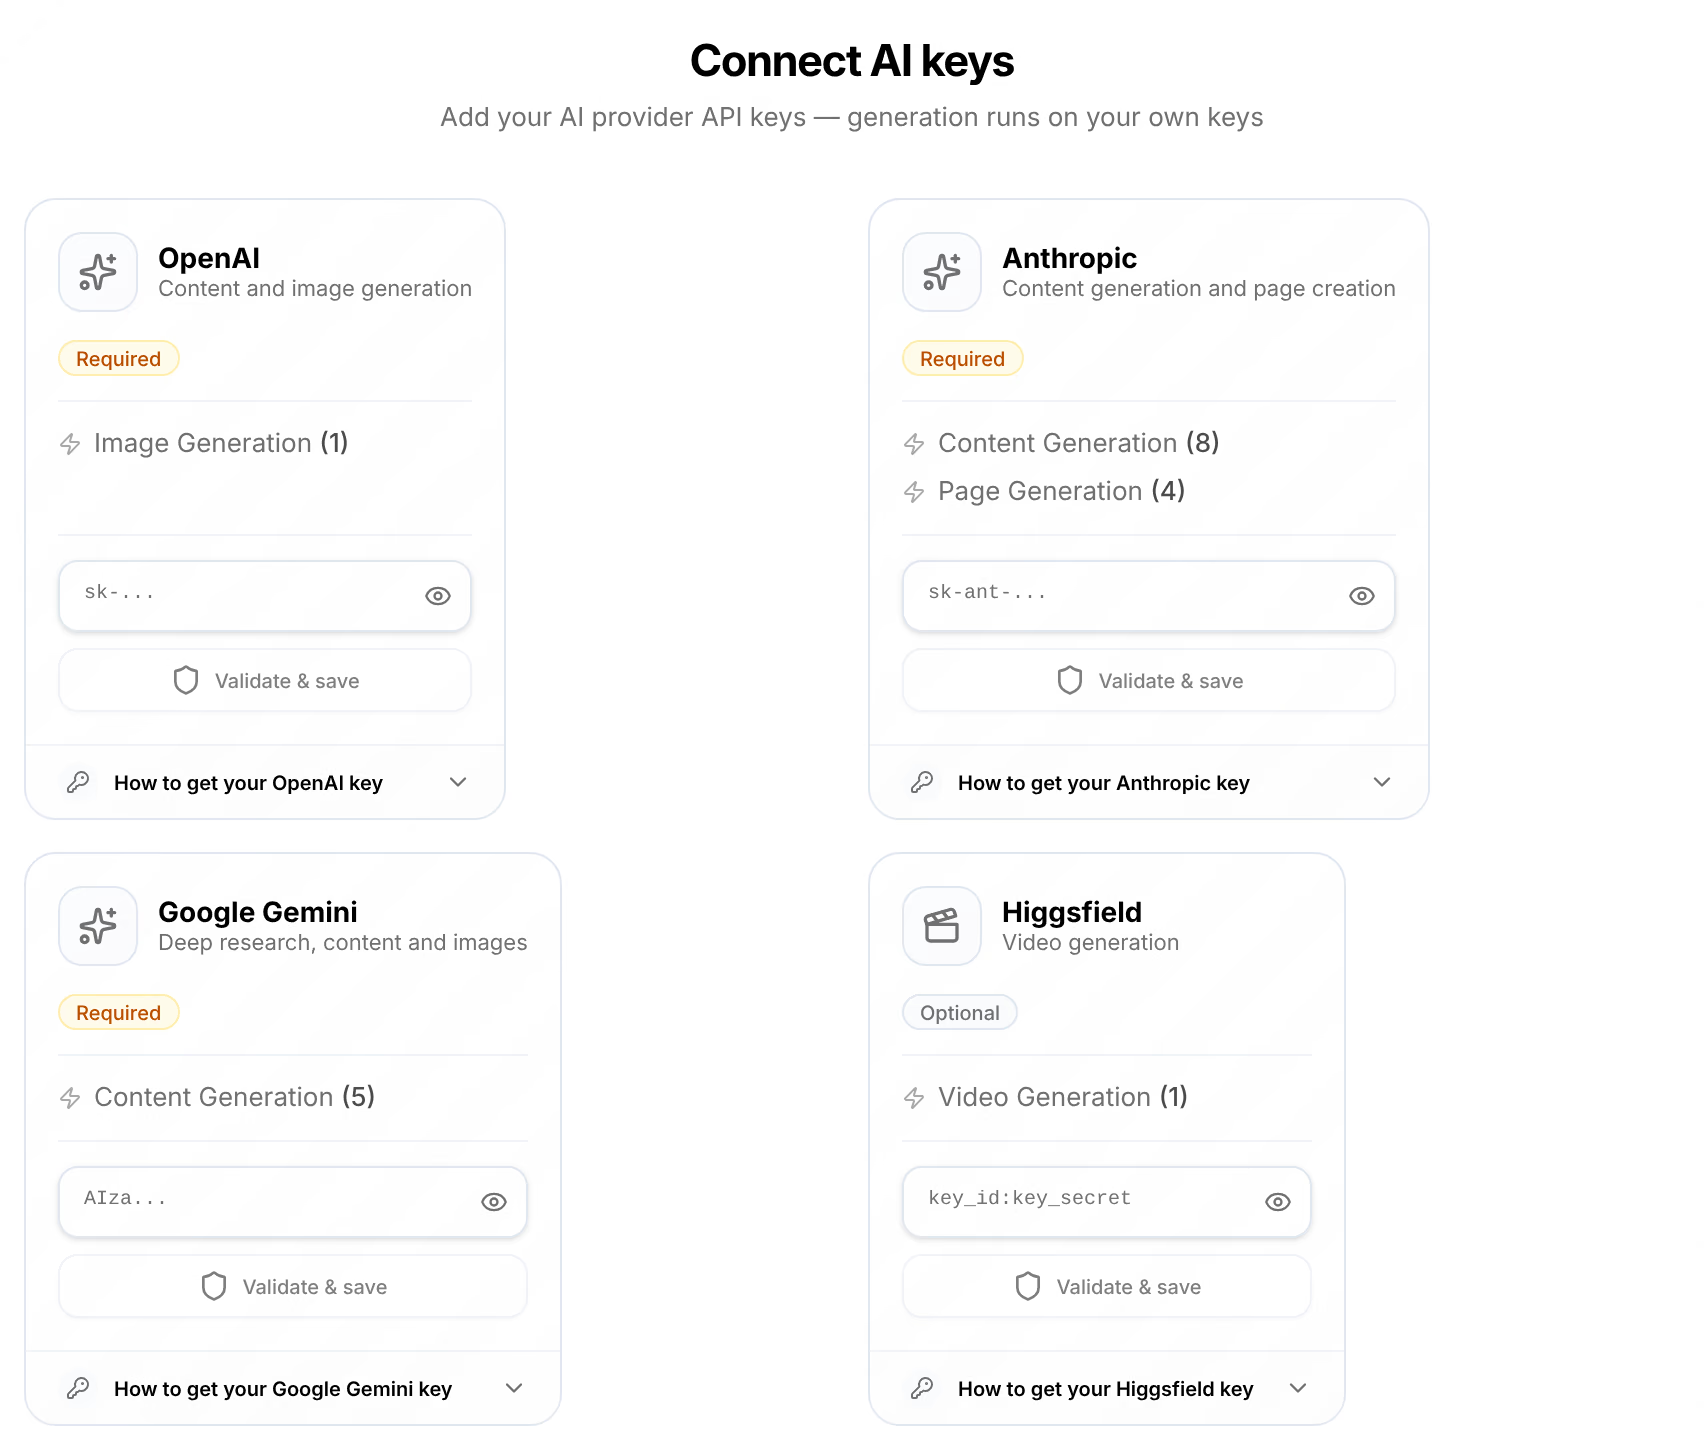
Omnymous runs every generation on your own AI accounts: you create keys on OpenAI, Anthropic, and (optionally) Google, and you pay those providers directly for what you use. There are no per-generation charges from Omnymous, generations are unlimited, and your keys are stored encrypted.

  1. OpenAI and Anthropic are Required; Google Gemini is Optional. Each card has an expandable How to get your … key guide with the exact steps.

    Connect AI Keys step with OpenAI, Anthropic, and Google Gemini cards, each with a how-to guide

  2. Paste each key into its card and click Validate. A green Validated badge appears once the key checks out.

    Connect AI Keys step with both required keys marked Validated

  3. When the footer reads All required keys validated, click Next. Managing, replacing, or removing keys later is covered in Usage and AI keys.

8. All Done!

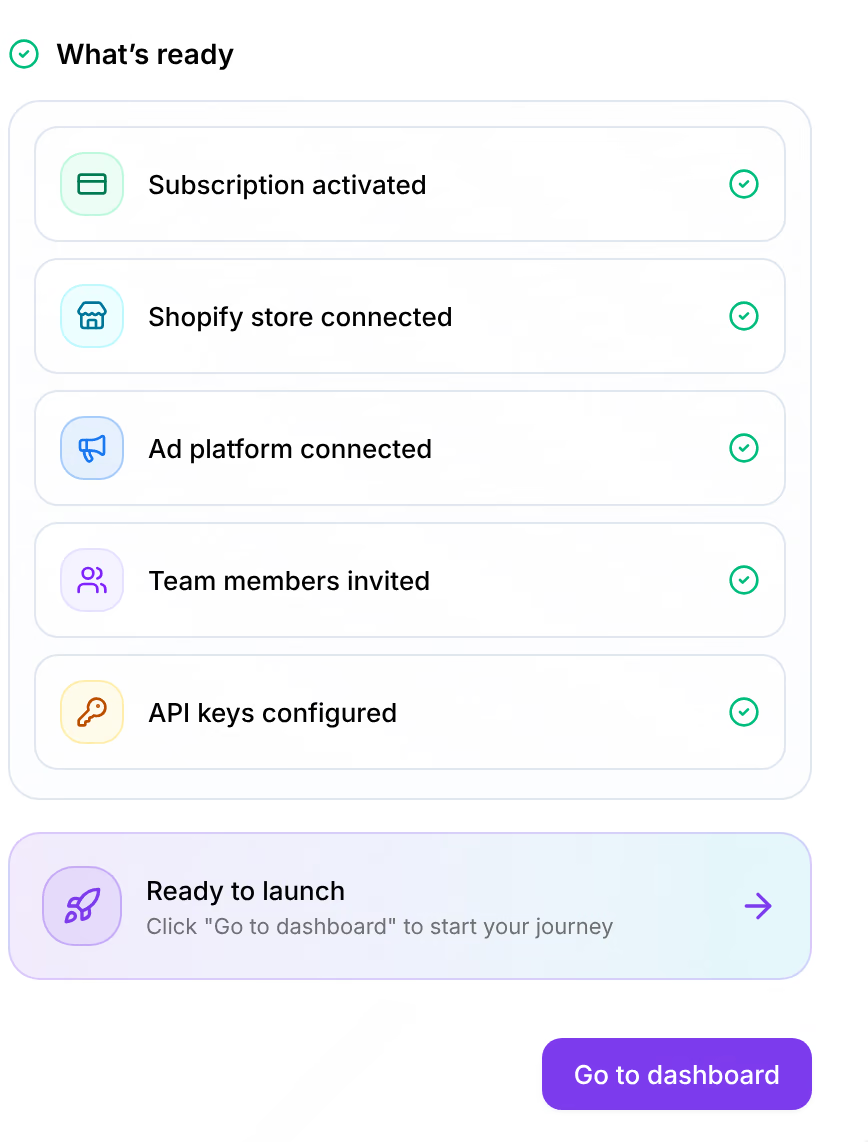
The All Done! screen confirms What’s Ready — your Subscription activated, Shopify store connected, and API keys configured. Click Go to Dashboard to enter your workspace.

All Done screen with the What's Ready checklist and the Go to Dashboard button

What happens next

You land on your dashboard, where a short tour points out the main areas. Get your bearings in Find your way around.

Troubleshooting

My card was declined. Double-check the number, expiry, and security code, and make sure the card allows online charges. Nothing is billed until the charge succeeds — fix the details and click Pay again.

Omnymous can’t find my store. Enter only the part before .myshopify.com and check the spelling. If Shopify asks you to log in or approve access, complete that and you’ll return to the wizard automatically.

I can’t get past Connect Store. Every connected store needs its pixel data mode set to Always on and the I’ve set the data mode to “Always on” box ticked. If Next is still off, re-open the Set Pixel Data Mode panel and confirm the checkbox.

A key won’t validate. Copy the key again with no extra spaces, and make sure it’s from the right provider — OpenAI keys start with sk-, Anthropic keys with sk-ant-. New provider accounts often need billing or credit added before a key works; each card’s How to get your … key guide links the right page.

The workspace name is taken. Names are unique across Omnymous. Try a variation — adding your city or “Labs”, for example — until you see This name is available.