
Connect your store
Link your Shopify store during setup, then set its Omnymous pixel to Always on so Shopify never pauses it.

Setup’s Connect store screen links one Shopify store to your workspace, and the ad platforms you connect next attach to that store. You can add more stores anytime from Settings, under Stores, whatever your plan. The store switcher’s Manage stores opens the same place.
Before you start
- A Shopify account for the store that can install apps. Shopify calls this permission Manage and install apps and channels.
- The store’s name: the part of its address before
.myshopify.com. Your Shopify admin’s address shows it too:admin.shopify.com/store/followed by the name. - About five minutes.
Connect the store
With one store on your plan, the Store domain field and the Connect store button are gone once it is connected, and its card stands under Your store instead. If that is what you see, go on to Set the pixel to Always on.
Type the store’s name
In Store domain, type the name, such as
vital-root. A full.myshopify.comaddress or your Shopify admin’s address also works. Your shop’s own domain, such asvitalroot.com, does not.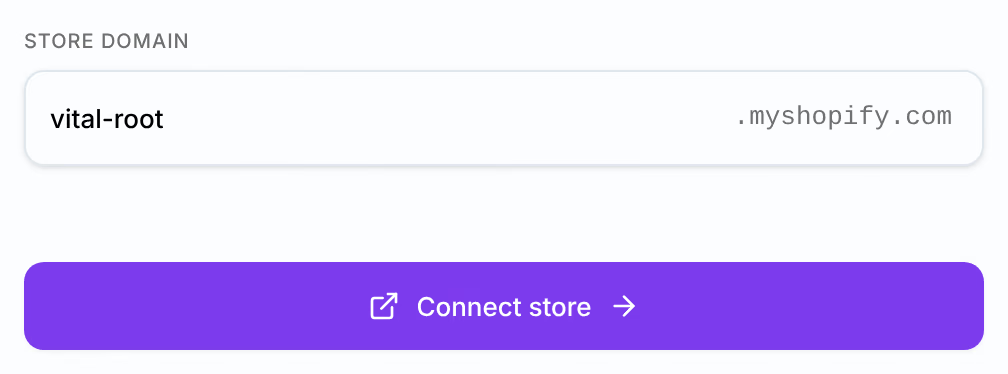
Press Connect store
The panel changes to Preparing your store’s connection and ticks through three stages. A store is prepared once, in about a minute. Keep the page open.
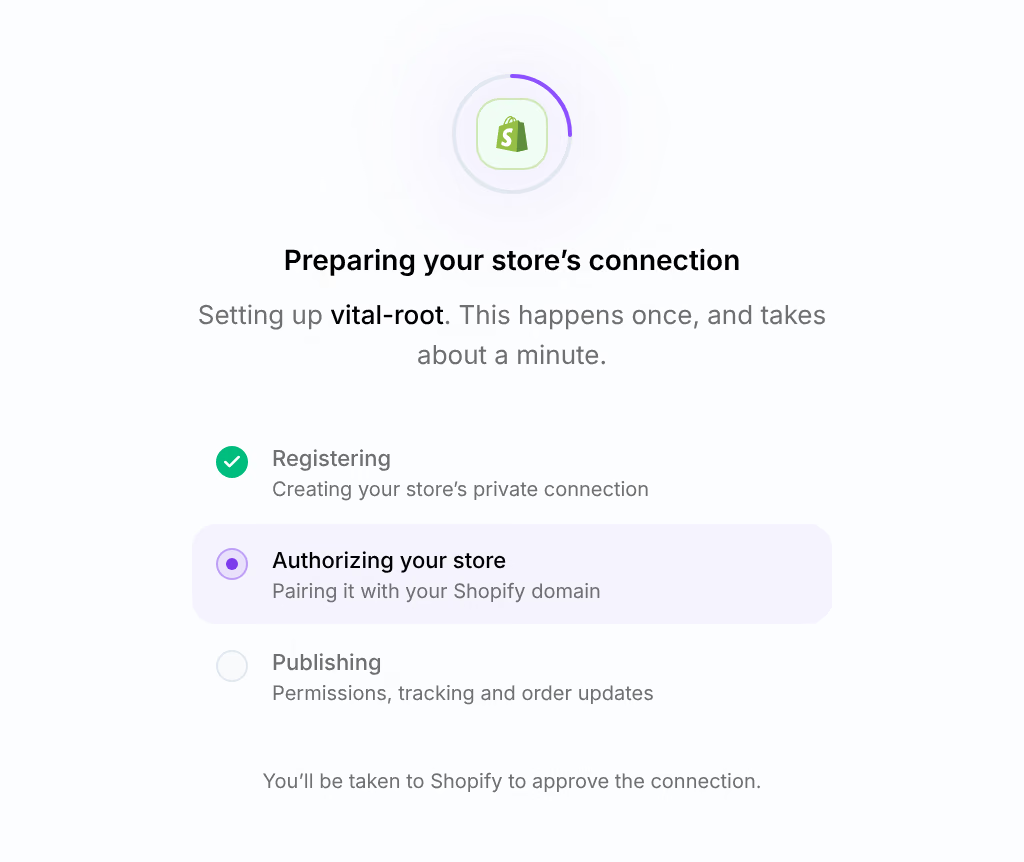
Approve Omnymous in Shopify
When the panel reads Approve Omnymous in Shopify, press Approve in Shopify. Shopify opens in a new tab and shows what Omnymous can access. Approve it there, then come back to the Omnymous tab.
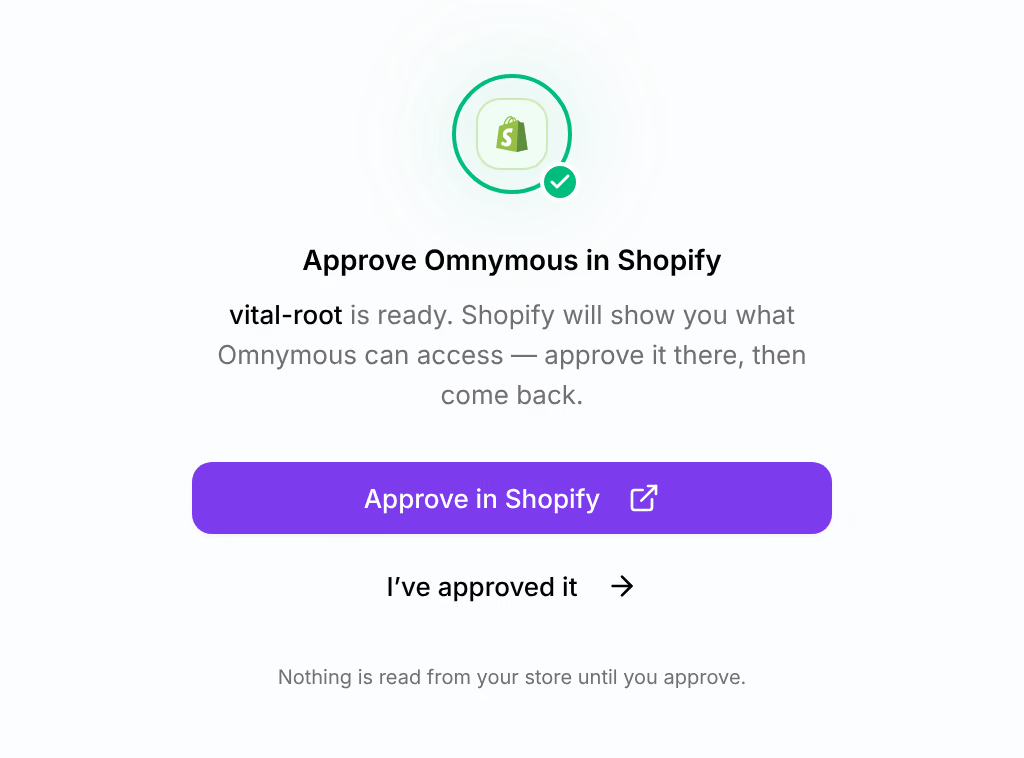
Press I’ve approved it
Omnymous finishes the connection with Shopify. You see Store connected for a moment, then you are back on Connect store, with your store’s card under Your store marked Connected.
Next stays greyed out until the store’s pixel is set to Always on, in the next section. Until then the screen says Finish “Pixel data access” for your store to continue.


Set the pixel to Always on
Connecting the store adds the Omnymous pixel to it: the script that tells Omnymous which visits came from which ad. Shopify gives a new app pixel the Optimized setting, under which it may pause the pixel when the app brings the store no traffic. Omnymous measures your ads and brings no traffic of its own, so it needs Always on. The store’s card shows both, under Pixel data access.

Press Open Customer events
Your store’s Customer events page opens in Shopify, in a new tab.
Open the Omnymous pixel
Click Omnymous in the list of pixels.
Select Always on, then click Save
Shopify applies the setting when you save it.
Come back to the Omnymous tab
The card asks Shopify again as soon as you return. To ask at any other moment, press Check again.
Check that it worked
The card folds to one line, and Pixel data access shows Always on. Next becomes available: press it to go on to your ad platforms.

If something goes wrong
| What you see | What to do |
|---|---|
| “Enter your store name (e.g. "mystore") or its full .myshopify.com domain” | Type the name from your store’s .myshopify.com address. A custom domain cannot be connected. |
| “… is not a Shopify store — check the domain and try again” | Check the spelling against your Shopify admin’s address, then press Connect store again. |
| “We’re finishing your connection” | Preparing took longer than usual, and nothing is lost. Omnymous emails you a one-click link when the store is ready. Open it to carry on where you left off. |
| “This store is already connected to another Omnymous workspace” | A store belongs to one workspace. Disconnect it there, or ask that workspace’s owner to invite you. |
| “This connection attempt expired or was started in another browser” | Start again from Connect store, in the browser you will finish in. |
| “Shopify still reports Optimized.” | The change applies only once you click Save on the pixel’s page. If you saved it, tick I selected Always on and clicked Save. |
| “The Omnymous pixel isn’t on this store yet” | Press Install the pixel. If that fails, tick Continue without the pixel for now: setup carries on, but the store’s visits are not tracked until the pixel is installed. |
Related
- How Omnymous worksOmnymous builds your ads from reusable pieces, launches them, and credits every order back to the pieces that earned it.
- Find your way aroundThe frame around every screen of Omnymous, on a computer and on a phone: the sidebar, the store switcher, the top bar and your account menu.